Appearance
Tutorial: Laser shoot
Okay, so you are ready to create your first sound effect. This section will guide you through the process of creating a simple sound effect step-by-step.
In this tutorial, we will create a retro-style laser shoot sound effect.
Creating SFXAsset
Sound effects in SFXCreator are created with special assets called SFXAsset. To create a new SFXAsset, follow these steps:
- Right-click in the Project Window where you want to create the asset.
- Select Create > SFXCreator > SFXAsset from the context menu.
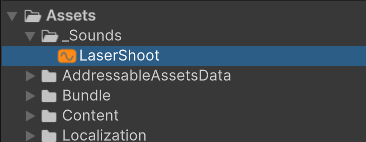
- Name the new asset "LaserShoot".
Inspector
Now, click on the newly created "LaserShoot" asset to open it in the Inspector. You should see something like this:
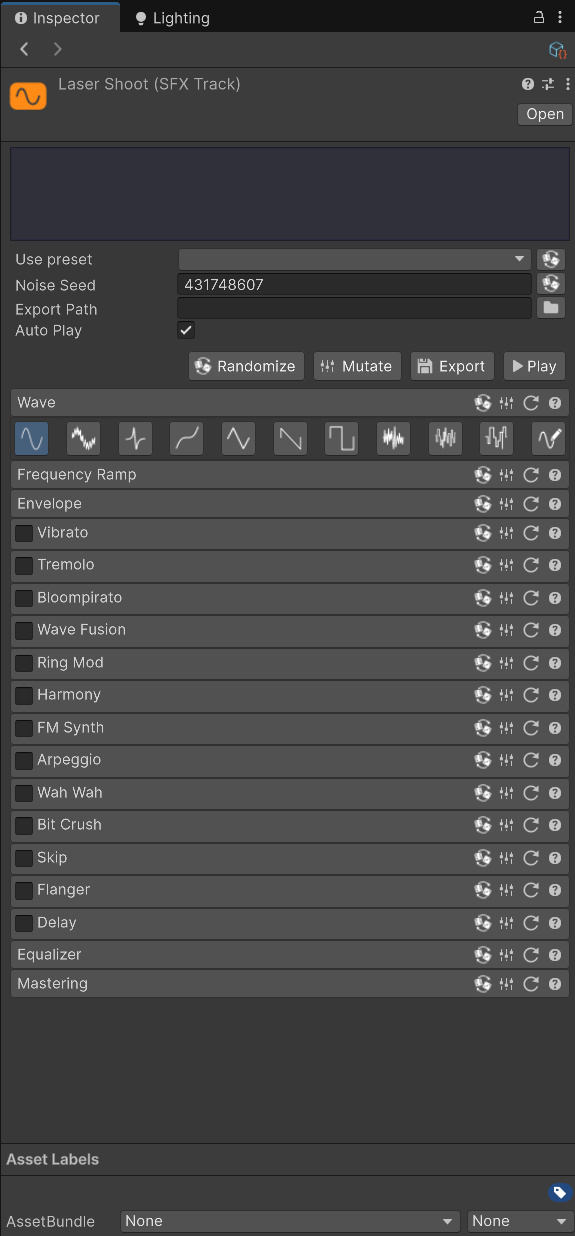
This is where you will configure your sound effect by adjusting various parameters and applying effects.
Playing the sound
First of all, let's play the sound to hear what it currently sounds like.
Click on the Play button in the Inspector. You should hear a simple "beep" sound.

Choosing the waveform type
First of all, we need to select one of basic waveforms for our laser shoot sound. In Wave section of the Inspector, select Tangent Wave - this wave should give us a sharper sound.

You will hear that sound changed to a more sharper, artificial one.
INFO
When you select the Tangent Wave, you will hear that sound is played immediately with new setting. This is standard behaviour of SFXCreator and allows you to quickly experiment with different settings and hear results in real-time.
Applying Envelope
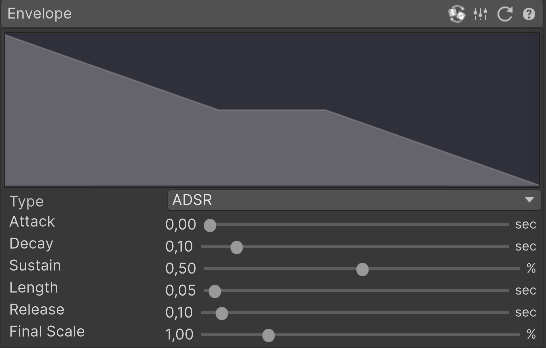
Our sound still does not sound like a laser shot. It is too long and does not have the right dynamics. We will fix this by setting up an envelope for our sound. Please open the Envelope section in the Inspector, it should look like this:
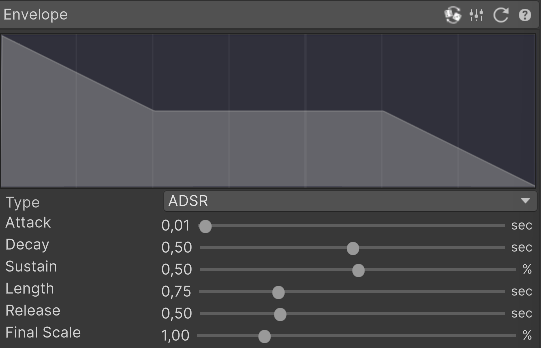
The envelope decides how sound volume changes over time. Because lasers shot is a quick event, we will set zero Attack, short Decay and short Length/Release values.
Please set the following values in the Envelope section:
- Attack: 0.00 (this makes sound to start immediately at full bang)
- Decay: 0.10 (this makes sound volume drop to half in 0.1 seconds)
- Sustain: 0.50 (this makes sound to stay at half volume...)
- Length: 0.05 (...for a 0.05 seconds)
- Release: 0.10 (this makes sound to fade out in 0.1 seconds)
- Final Scale: 1.00 (this allows you to "stretch" the envelope, we don't need it now)
It should look like this:
Now, the sound will be quicker and punchier, more closer to a quick laser shoot.
INFO
You can read more about envelopes and how they work in this section.
Adjusting frequency
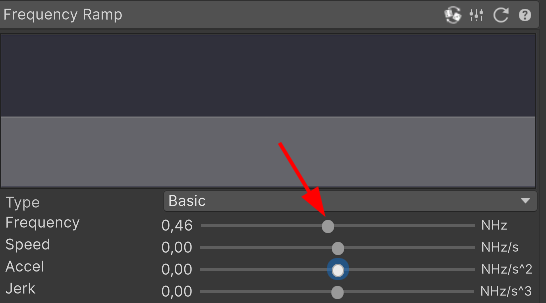
By default, the frequency of sound is set statically to 0.5. This makes the sound a little bit too high-pitched for our needs.
Change the Frequency parameter inside Frequency Ramp section to 0.46. This should lower the pitch slightly, which you can hear immediately.
However, laser sounds sound best when pitch is not constant, but decreases slightly over time. You can change frequency over time by adjusting one of the parameters in Frequency Ramp section:
- Speed - changes frequency over time linearly
- Accel - changes frequency over time quadratically
- Jerk - changes frequency over time cubically
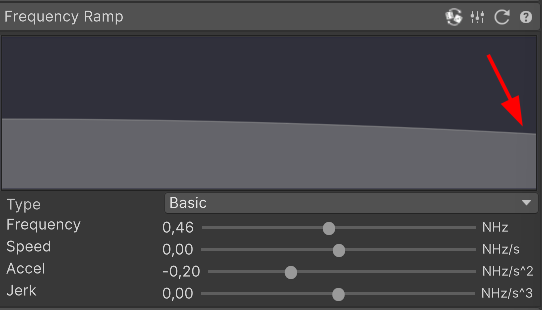
For laser shot, please set Accel parameter to -0.20. Doing this will make sound more "laser-like".
It should look like this:
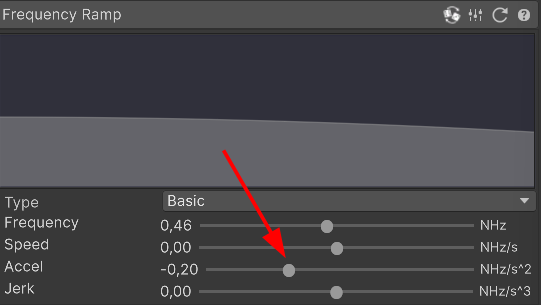
Also, you can see that changing these parameters are visualized as a graph that shows you how frequency changes over time. Changing Accel to -0.20 will make the graph to curve downwards slightly.
INFO
If terms Speed, Accel and Jerk are new to you, play around with them a bit and look how they affect frequency graph above.
Making sound more interesting
Now, the sound is very similar to 8-bit laser shots and we could use it in our game already. However, we will slightly tune it further to make it sound a little more interesting.
We will make sound to "oscillate" very quickly, making it more "electronic". We will achieve this by using Ring Mod effect.
First, please open then Ring Mod section in the Inspector and enable it by checking the checkbox next to its name.
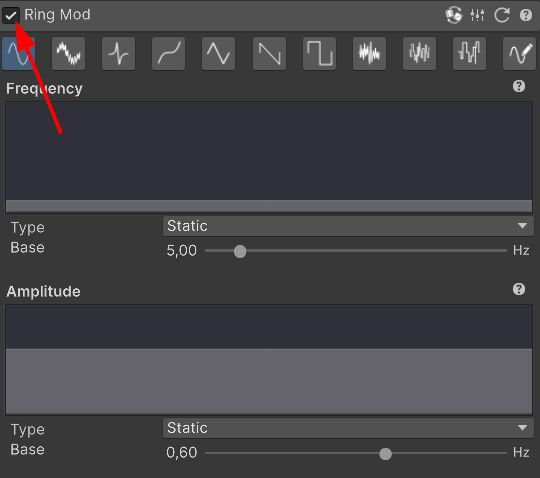
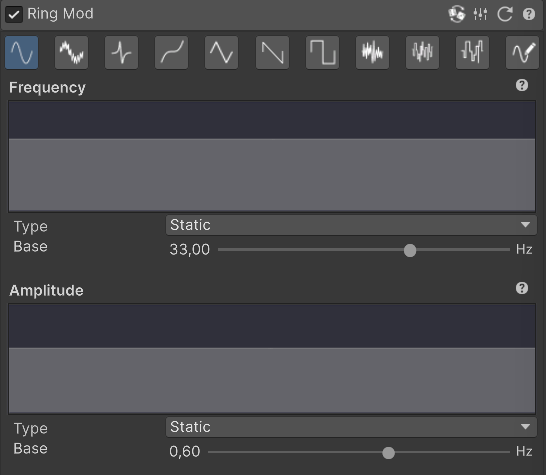
You can hear a slight change in the sound, but this is not the effect we want. Instead, adjust the Frequency parameter of Ring Modulator to 33.0. This will make sound to "wobble" very quickly, creating the desired effect.
The final settings should look like this:
Exporting the sound
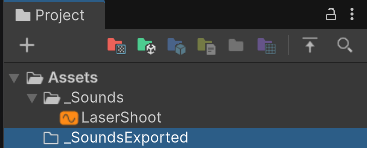
Okay, now we have created our laser shoot effect. However, you can't use SFXAsset directly in your game. Instead, you need to export it to a standard audio file format, understood by Unity. For that, please create a separate directory called "_SoundsExported":
Now, select LaserShoot SFXAsset again and the Inspector, set the Export Path field to newly created directory. You can do it in two ways:
- Click on the folder icon next to field and select the directory in the dialog
- Drag and drop the "_SoundsExported" directory from Project window to the field
Whichever way you choose, after setting directory, the sound will be automatically exported and you will see the exported audio file in the Project tab.
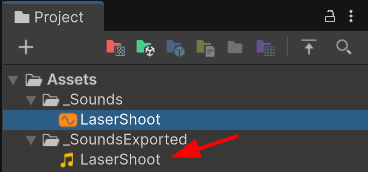
You can now use this audio file in your game by assigning it to AudioSource or any other audio-playing component.
INFO
Tip: It is recommended to keep original SFXAsset files in your project. If you do so, you can always go back, tweak the sound and re-export it automatically to get updated audio file.